In this video, we discussed about Ai website builder in tamil..
AI Website Builder: Introduction

Building a website has never been easier, thanks to the power of AI tools. In this beginner-friendly guide, we’ll walk you through how to build a stunning website using AI step-by-step. You’ll need hosting and a domain to get started, and we’ll also share a coupon code TECHIEGLIDE for an extra discount on Hostinger hosting services. Let’s dive in!
Step 1: Understanding Hosting and Domain
Before building a website, you need two essential elements:
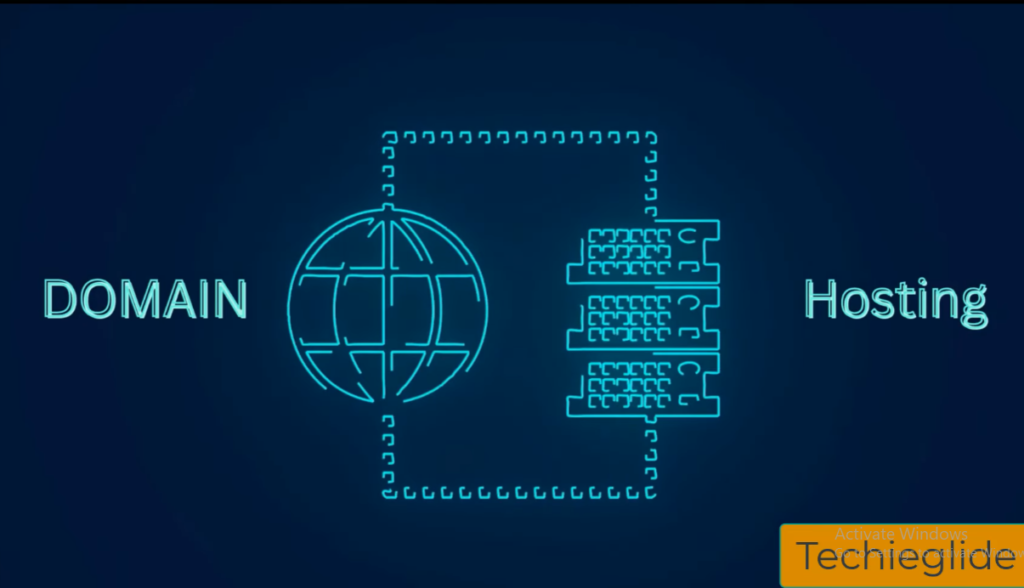
- Domain: This is your website’s address (e.g., www.yourwebsite.com).
- Hosting: This is the storage space where your website’s files are saved, making your site accessible online.
Once you have these, you’re ready to begin creating your website.
Step 2: Purchase Hosting on Hostinger
Follow these steps to purchase hosting and domain using Hostinger:
- Visit Hostinger.
- Browse their hosting plans. For beginners, we recommend Single Web Hosting or Premium Shared Hosting.
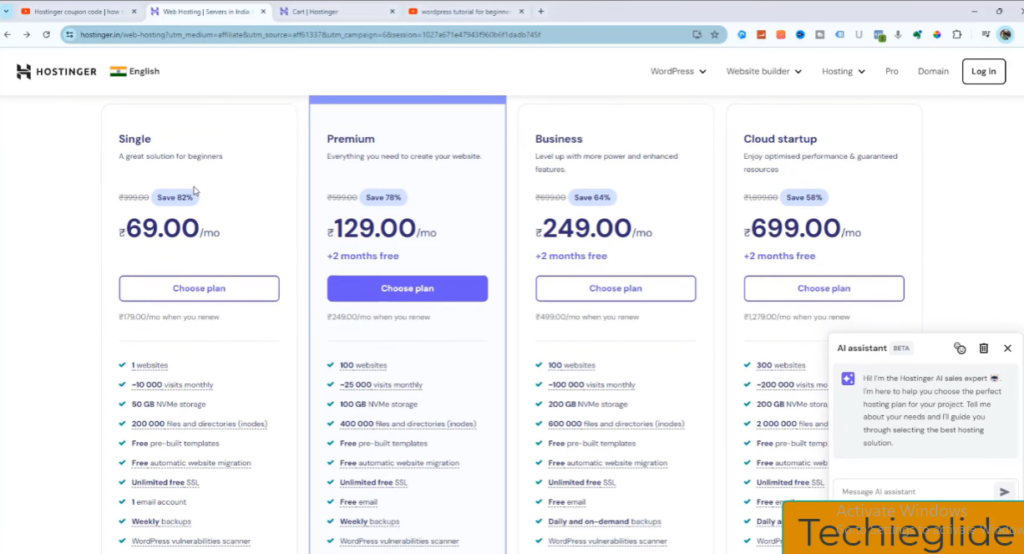
- Select your preferred plan and click Add to Cart.
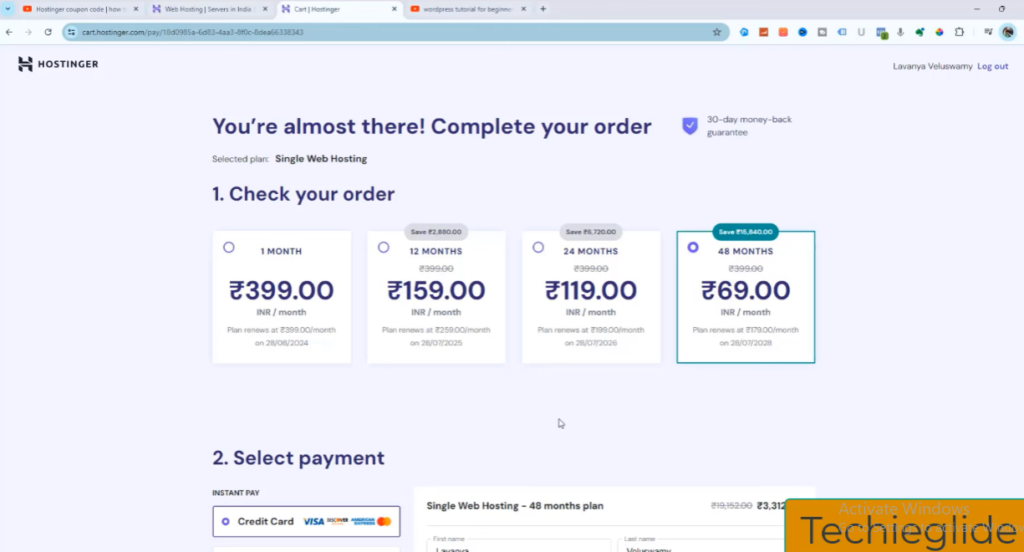
- Use the coupon code TECHIEGLIDE at checkout to get an additional discount.

- Complete the payment and registration process.
- Once registered, log in to your Hostinger account to access your dashboard.
Step 3: Install WordPress
- In the Hostinger dashboard, locate Add Website and select WordPress.
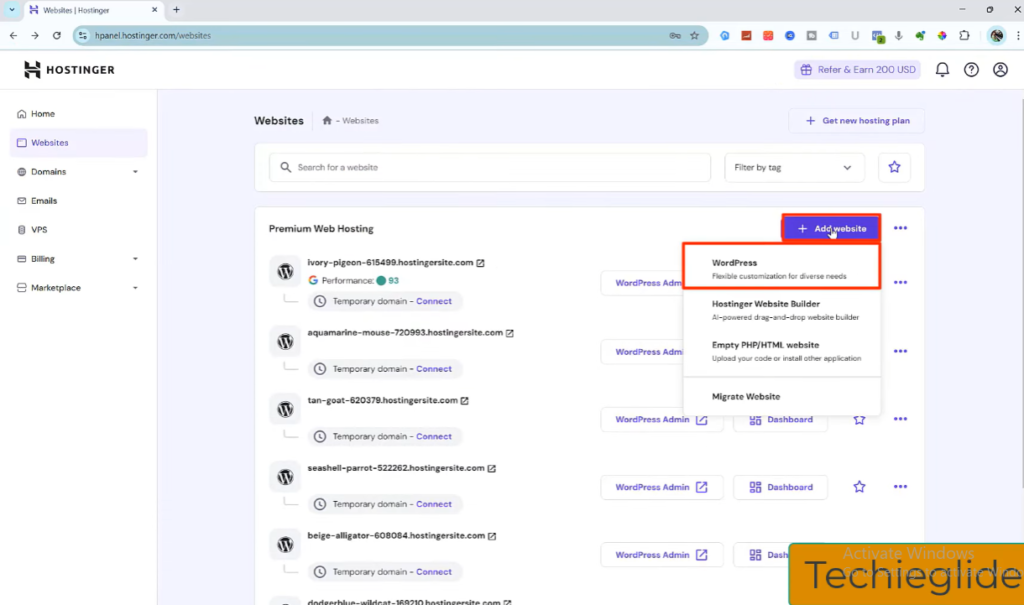
- Choose your domain (or opt for a temporary domain if you’re still deciding).
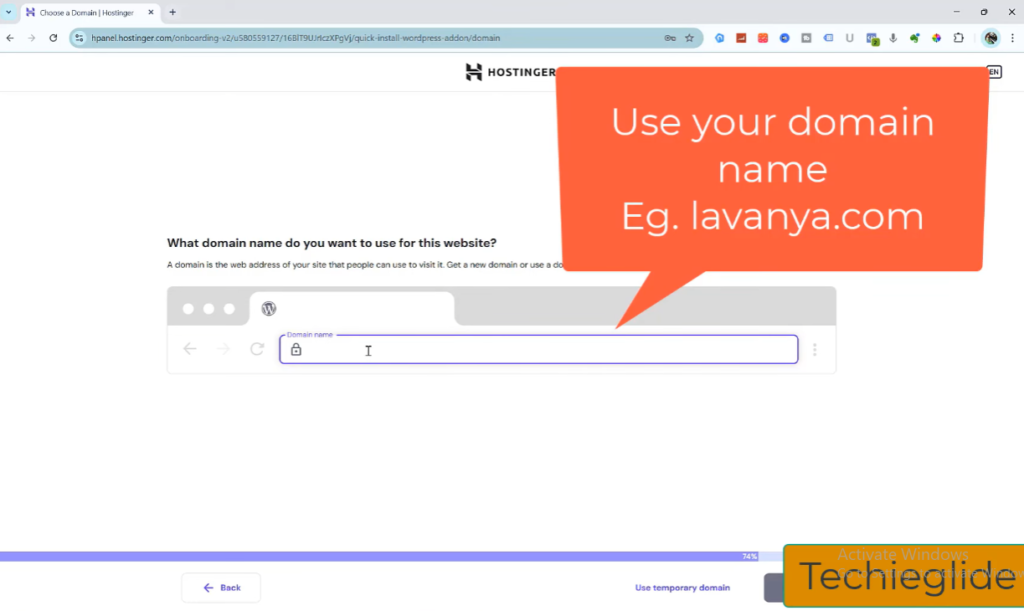
- Create a WordPress admin username and password.
- Click Install and wait for the process to complete.
- Tip: Deselect all recommended plugins during installation to keep your site lightweight.
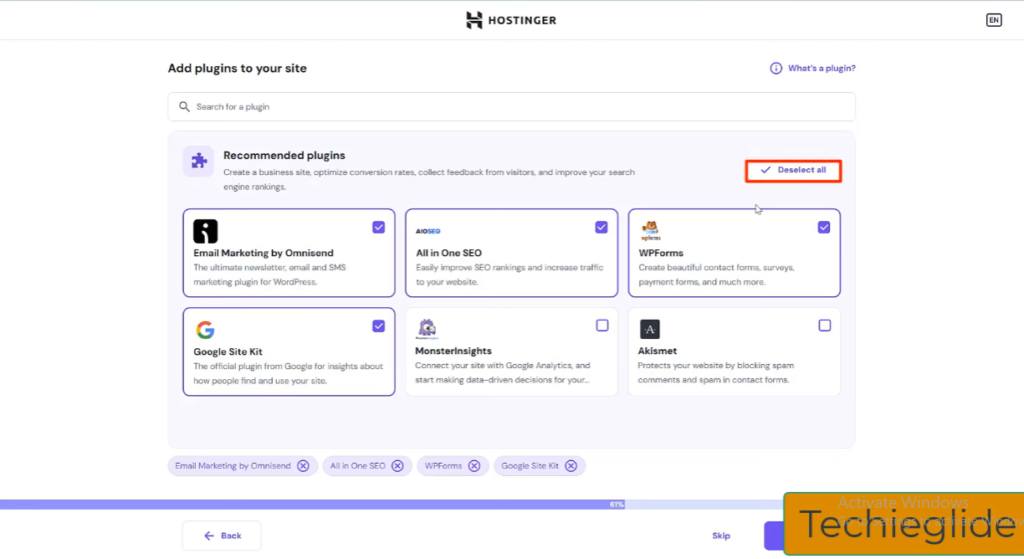
Step 4: Choose Astra Theme
- Log in to your WordPress dashboard using your admin credentials.
- Go to Appearance > Themes and search for the Astra theme.
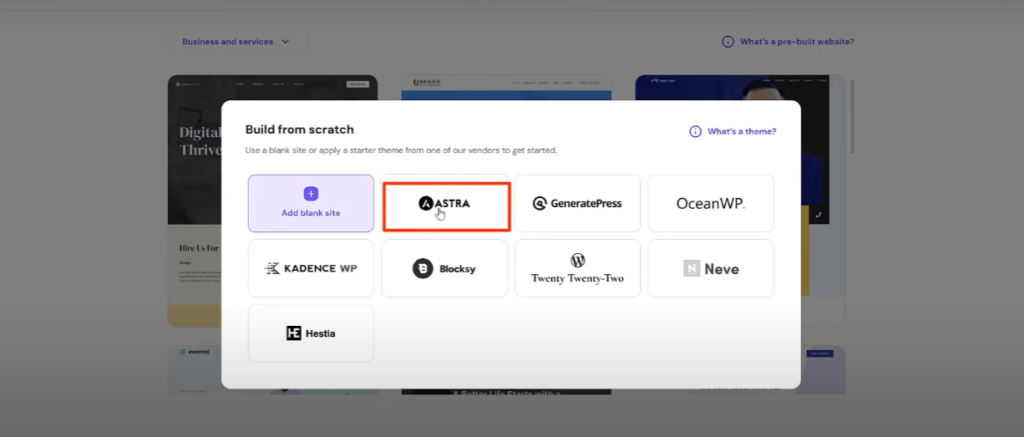
- Install and activate the theme.
Step 5: Start with Astra Template and AI Website Builder
- In the WordPress dashboard, navigate to Appearance > Themes > Starter Templates.
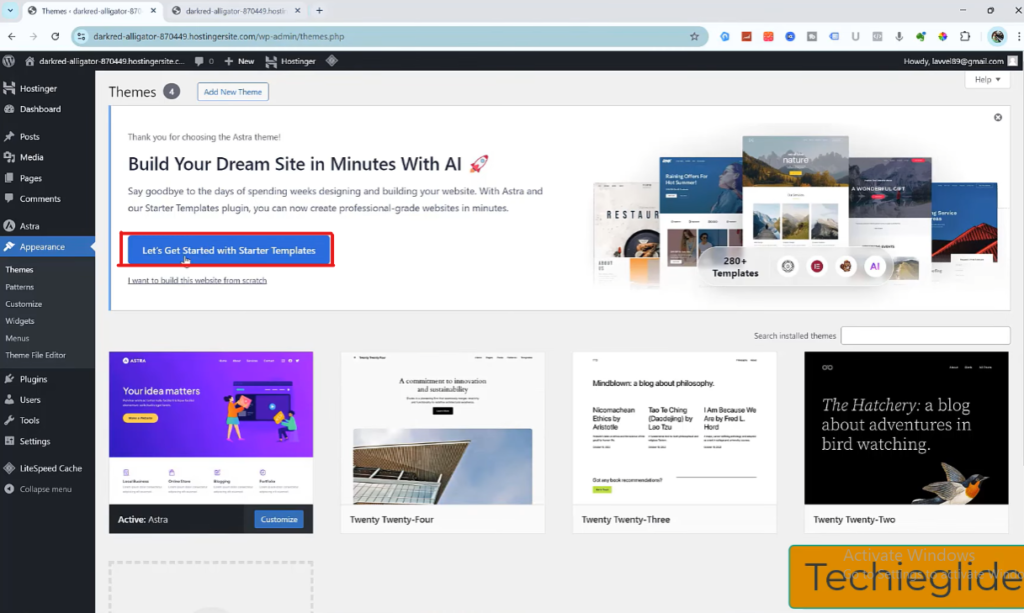
- Choose AI Website Builder instead of the regular method.
Step 6: AI Website Builder Setup
Step-by-Step Process with Astra’s AI Tool
- Give Your Website a Name
- Example: Graphic Designer
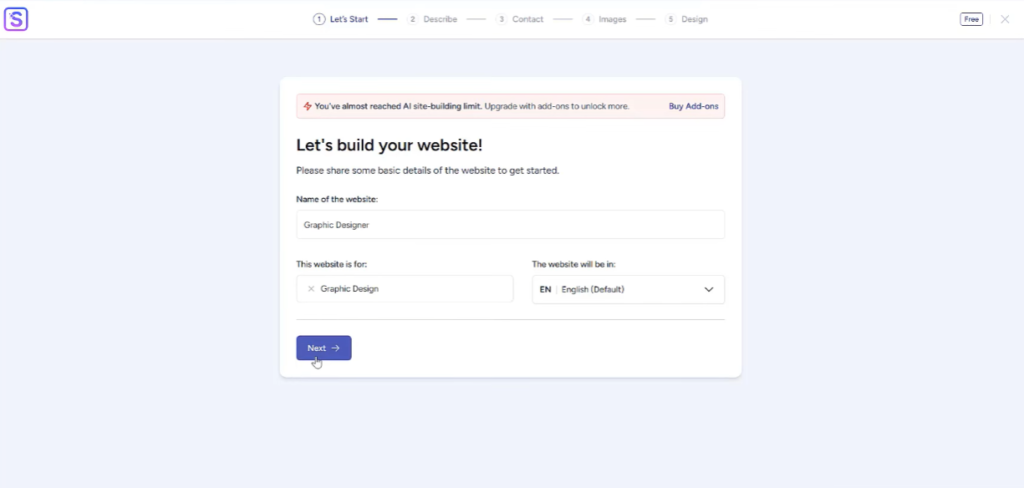
- Describe Your Website’s Purpose
- Input details such as:
- This website is for a freelance graphic designer showcasing their portfolio, offering services like logo design, branding, and social media graphics.
- Input details such as:
- Select Language
- Choose your preferred website language.
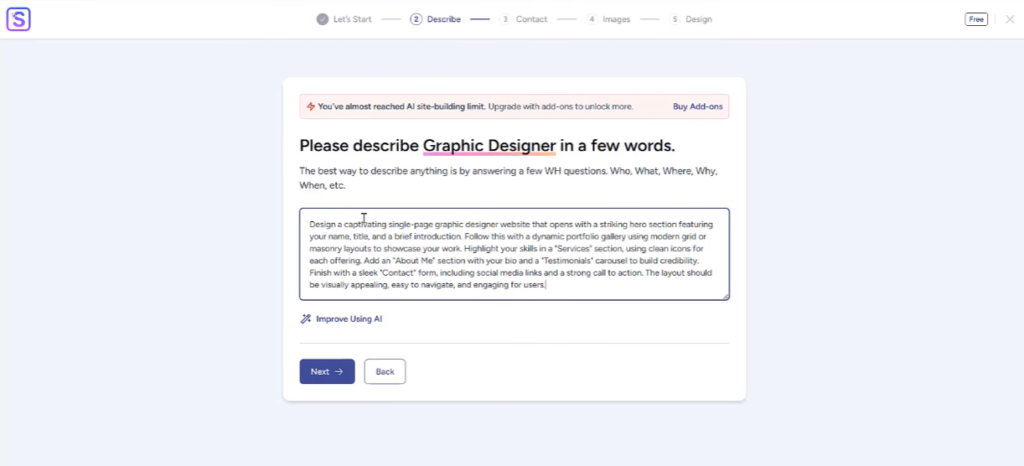
- Describe the Website in Few Words
- Example Prompt:
“This is a modern portfolio for a graphic designer. It highlights services such as branding, logo design, and social media graphics with a minimalist and creative style.”
- Example Prompt:
- Provide Contact Details
- Enter your email ID and basic details.
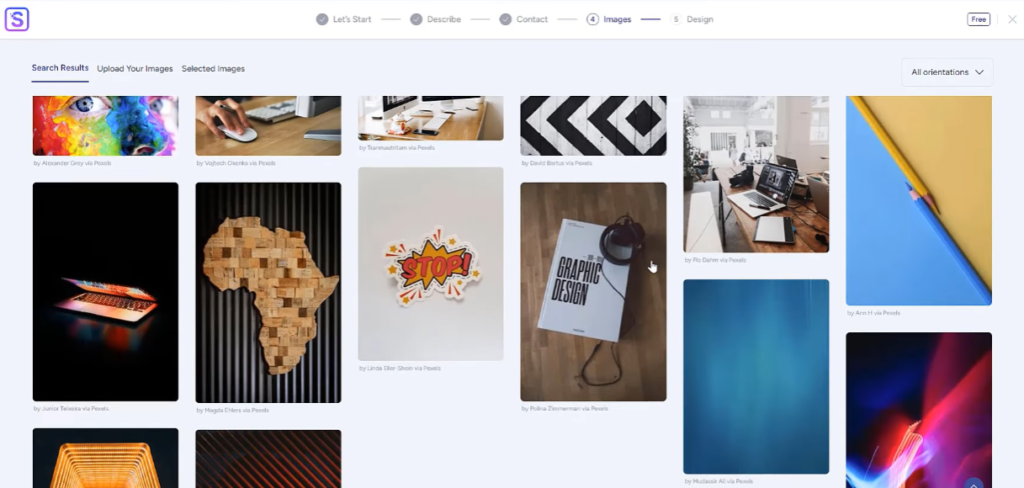
- Choose Images for the Website
- Upload your preferred images or select from free resources.
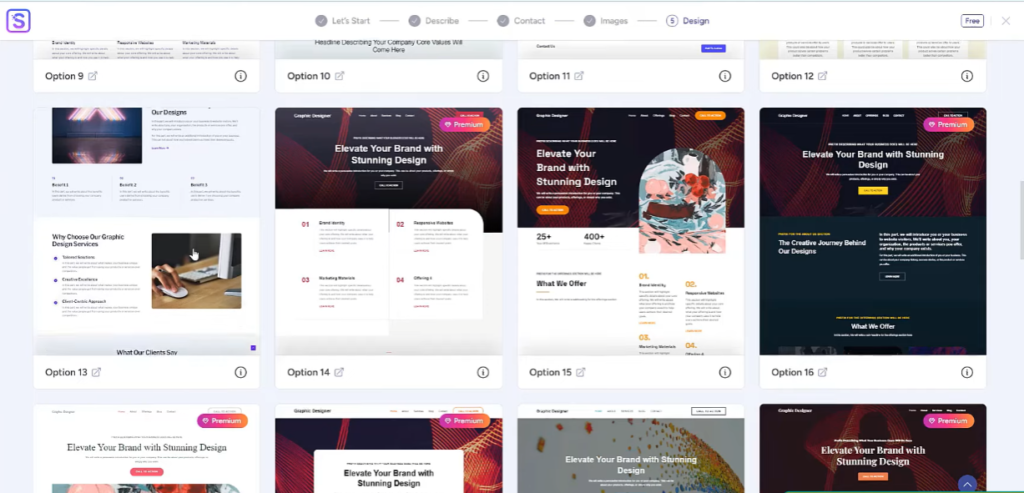
- Select Pre-Built Design
- Based on your input and images, AI will generate various pre-built website designs. Choose the one you like best.
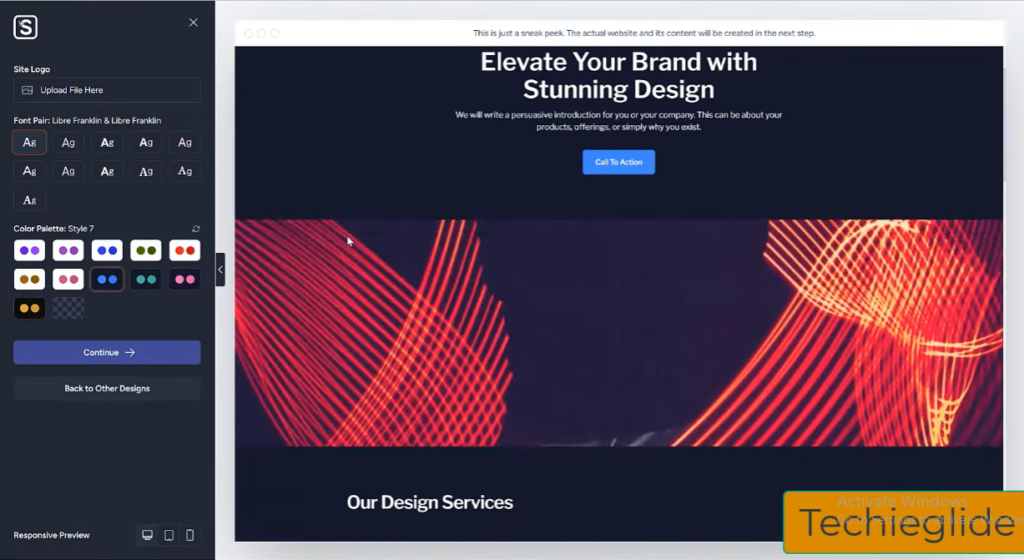
- Set Default Color and Text Styles
- Customize the color palette and fonts to match your brand identity.
- Choose Website Features
- Decide on the features you need, such as:
- Blog
- eCommerce
- Portfolio
- Decide on the features you need, such as:
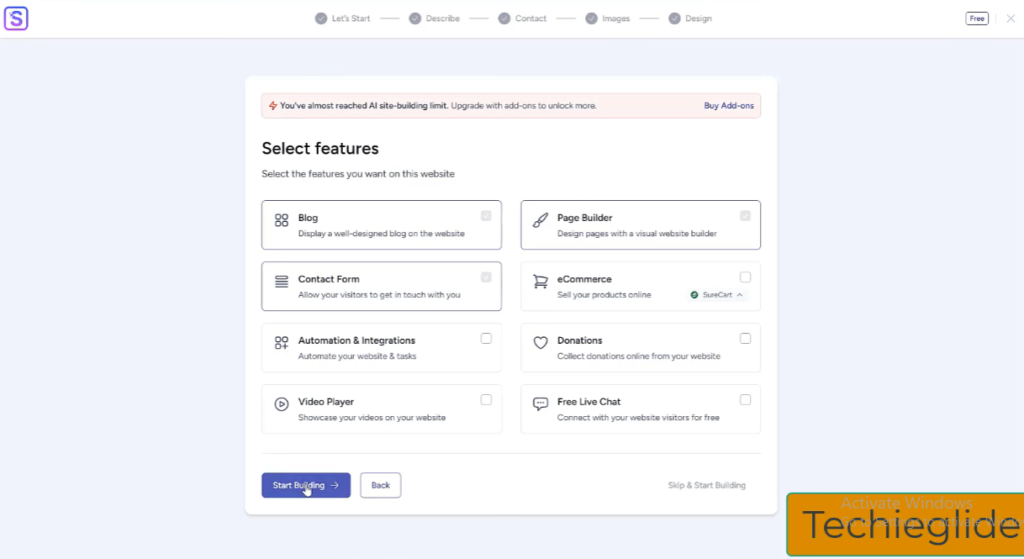
- Click Start Building to let the AI create your website!
Step 7: Edit Your Website
The AI will generate a fully functional website tailored to your inputs. To make further edits:
- Use the Page Editor in WordPress.
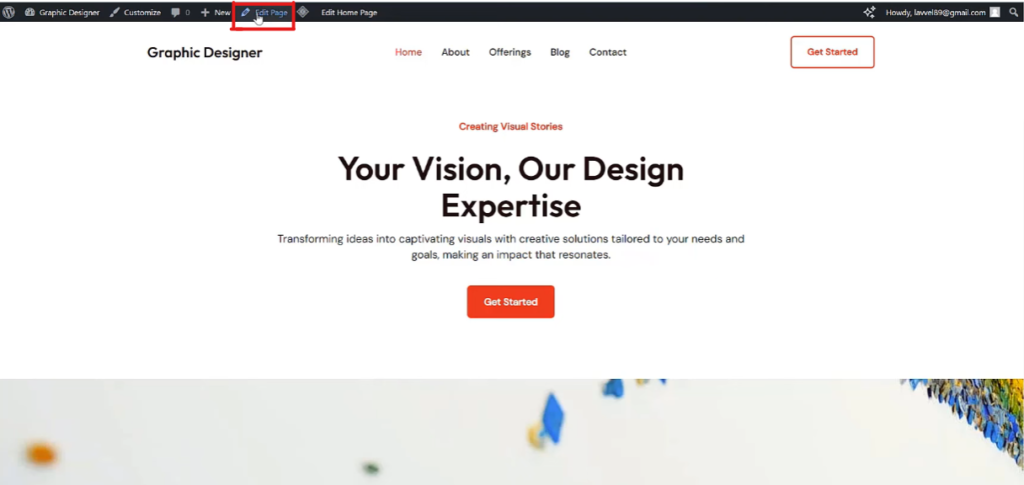
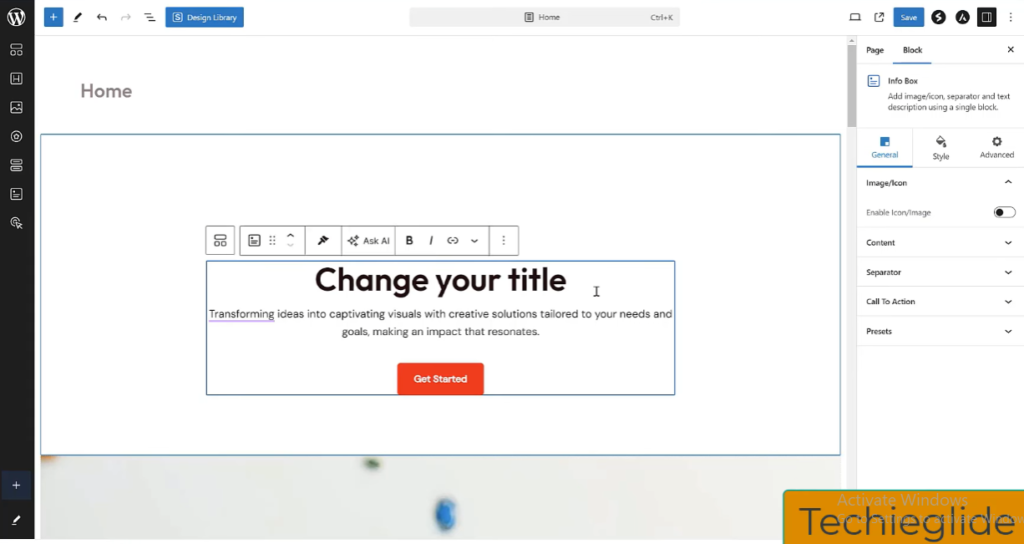
- The editor is simple and user-friendly, similar to editing text in a notepad.
- Customize each page as needed, such as:
- Adding new sections
- Editing text
- Replacing images
Step 8: Launch Your Website
Once you’re satisfied with your website, connect your domain if you used a temporary domain, and go live!

Conclusion
Congratulations! You’ve just built and customized a professional website using AI. Whether you’re a beginner or experienced, this method is fast, intuitive, and requires no coding knowledge. Remember to use the coupon code TECHIEGLIDE to save on hosting costs with Hostinger.
Happy website building! 🚀


0 Comments